Whether you’re looking to brand some sweet new threads for resale or would like to deck out your own employees/teammates for an upcoming event, this tidbit of information will help make the screen printing process quicker, easier, and more cost-effective for all parties involved.
Not all file types are created equal when it comes to screen printing and preparing your art for print is an important step in getting flawless results for your custom branded apparel. Let’s take a look at the difference between Vector Files and Raster Files.
Vector files vs. Raster files
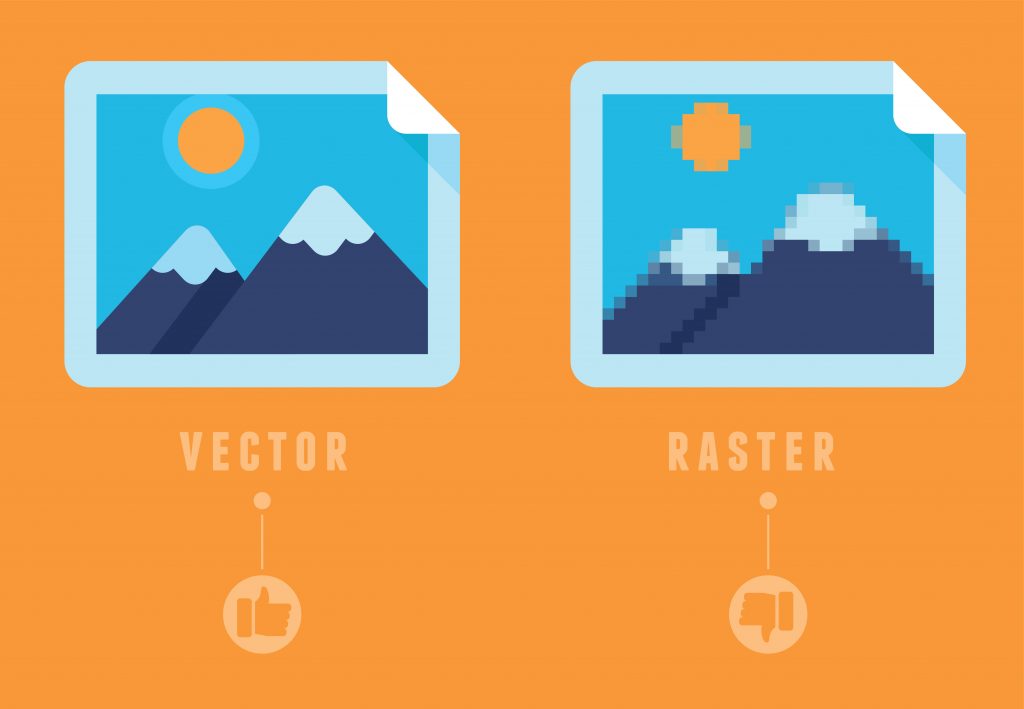
Vector Files are source files that are hard-edged graphics including logos, icons, etc. These are the files that you should send to the printer. Vector files allow more flexibility to resize without losing resolution. You can use these files for smaller print (left chest, sleeve) or larger print (full back or full front). All company logos and brand graphics should always be created as vector files so they can be printed on all marketing or promotional material without losing resolution. If the art is not in vector format, you may have to pay to have the art recreated.
Vector File types include – Adobe Illustrator (.AI) .EPS .PDF (of .AI or CDR) CorelDraw (CDR)
Raster Files have a fixed number of colored pixels or blocks that create an image. This type of file cannot be resized without compromising the resolution of the image. If a raster file is stretched to fit a space, the image becomes grainy and pixelated. Raster files can only be used for print if the file meets exact size specifications and can be printed at 300 dpi or dots per inch. These files are typically used in web graphics that are displayed on screens.
Raster File types include – .JPEG .GIF .PNG .TIFF Bitmap
So when it comes to decorating your promo apparel or printing your “born to ride a motorcycle” tee for your sassy old grandma, be sure to have vector art files on hand to save on time and money. Don’t pay to recreate the art you already have.


